Creating a thriving vegetable garden starts with one crucial step: preparing a solid seed bed. This foundational task can significantly impact the health and productivity of your plants. Whether you’re a seasoned gardener or a beginner, understanding the essentials of seed bed preparation can lead to a successful gardening season. In this blog post, we’ll explore the steps to prepare a vegetable seed bed properly, ensuring your plants get the best start possible.
Why is Seed Bed Preparation Important?
A well-prepared seed bed provides several benefits:
- Optimal Soil Structure: It enhances soil aeration, drainage, and root penetration, allowing plants to access nutrients and water more efficiently.
- Weed Control: Proper preparation can reduce weed competition, giving your vegetables the space they need to thrive.
- Disease Prevention: Healthy soil reduces the risk of diseases that can harm seedlings and mature plants.
- Improved Germination Rates: A prepared bed creates ideal conditions for seed germination, leading to stronger seedlings.
Step 1: Selecting the Right Location
Choosing the right spot for your vegetable garden is crucial for success. Here’s what to look for:
1. Sunlight
Most vegetables require at least 6-8 hours of direct sunlight daily. Observe your garden space throughout the day to identify the best location.
2. Drainage
Select a well-drained area to prevent waterlogging, which can lead to root rot. Avoid low-lying areas where water tends to accumulate.
3. Accessibility
Make sure your seed bed is easily accessible for planting, watering, and maintenance. A convenient location will encourage regular care.
Step 2: Clearing the Area
Once you’ve chosen your location, the next step is clearing the area. Here’s how to do it effectively:
1. Remove Debris
Clear away any debris, including rocks, sticks, and trash. This step helps create a clean slate for planting.
2. Eliminate Weeds
Remove any existing weeds by hand or with a hoe. This prevents them from competing with your vegetables for nutrients and water. If you have persistent weeds, consider using cardboard or landscape fabric to smother them.
3. Check for Pests
Look for signs of pests in the area. If you find any, take steps to manage them before planting.
Step 3: Testing Your Soil
Healthy soil is the backbone of any successful garden. Here’s how to ensure yours is in good shape:
1. Soil Testing
Conduct a soil test to assess pH levels and nutrient content. Most vegetables thrive in soil with a pH between 6.0 and 7.5. You can use a home testing kit or send a sample to a local agricultural extension office.
2. Understanding Nutrient Levels
Check for essential nutrients like nitrogen, phosphorus, and potassium (N-P-K), and consider how to amend your soil based on the results.
Step 4: Amending the Soil
After testing, it’s time to enrich your soil to create the ideal seed bed.
1. Organic Matter
Incorporate organic matter, such as compost, well-rotted manure, or leaf mold. This improves soil structure, drainage, and nutrient availability.
2. Fertilizers
Based on your soil test results, you may need to add specific fertilizers. Choose a balanced organic fertilizer to support healthy plant growth.
3. Lime or Sulfur
If your soil is too acidic, add lime to raise the pH. Conversely, if it’s too alkaline, you can lower the pH by adding sulfur.
Step 5: Tilling the Soil
Once your amendments are added, it’s time to till the soil properly.
1. Tools for Tilling
You can use a garden fork, spade, or tiller depending on the size of your seed bed. For smaller areas, a fork or spade may suffice, while a tiller is better for larger plots.
2. Tilling Depth
Till the soil to a depth of about 12-15 inches. This depth allows for root penetration and promotes healthy soil structure.
3. Breaking Up Clumps
As you till, break up any large clumps of soil and remove rocks or debris that may have surfaced.
Step 6: Leveling the Seed Bed
A level seed bed is essential for even planting and water distribution.
1. Rake the Soil
Use a rake to smooth the surface of the bed. This step also helps incorporate any remaining debris or clumps of soil.
2. Create Beds or Rows
Depending on your planting method, you may want to create raised beds or rows. Raised beds improve drainage and soil warmth, while rows are traditional for many gardeners.
Step 7: Moistening the Soil
Proper moisture levels are vital for seed germination and root establishment.
1. Watering the Seed Bed
Before planting, moisten the soil lightly. Avoid overwatering, as this can lead to compaction and hinder germination.
2. Testing Soil Moisture
To check soil moisture, grab a handful of soil and squeeze it. If it holds together but crumbles easily, it’s at the right moisture level for planting.
Step 8: Planning Your Planting Layout
Planning is crucial for maximizing space and ensuring healthy plant growth.
1. Companion Planting
Consider companion planting strategies. Certain plants can benefit each other, improving growth and reducing pest issues. For example, planting basil near tomatoes can enhance flavor and deter pests.
2. Crop Rotation
If you’ve grown vegetables in the same spot previously, consider crop rotation to prevent nutrient depletion and disease buildup.
3. Space Considerations
Check the recommended spacing for each type of vegetable. Proper spacing ensures good air circulation and reduces competition for nutrients.
Step 9: Sowing Seeds or Transplanting
With the seed bed prepared, you can start planting.
1. Sowing Seeds
Follow the recommended planting depth for each vegetable. Generally, larger seeds should be planted deeper, while smaller seeds can be sown more superficially.
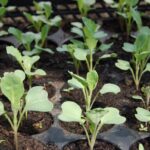
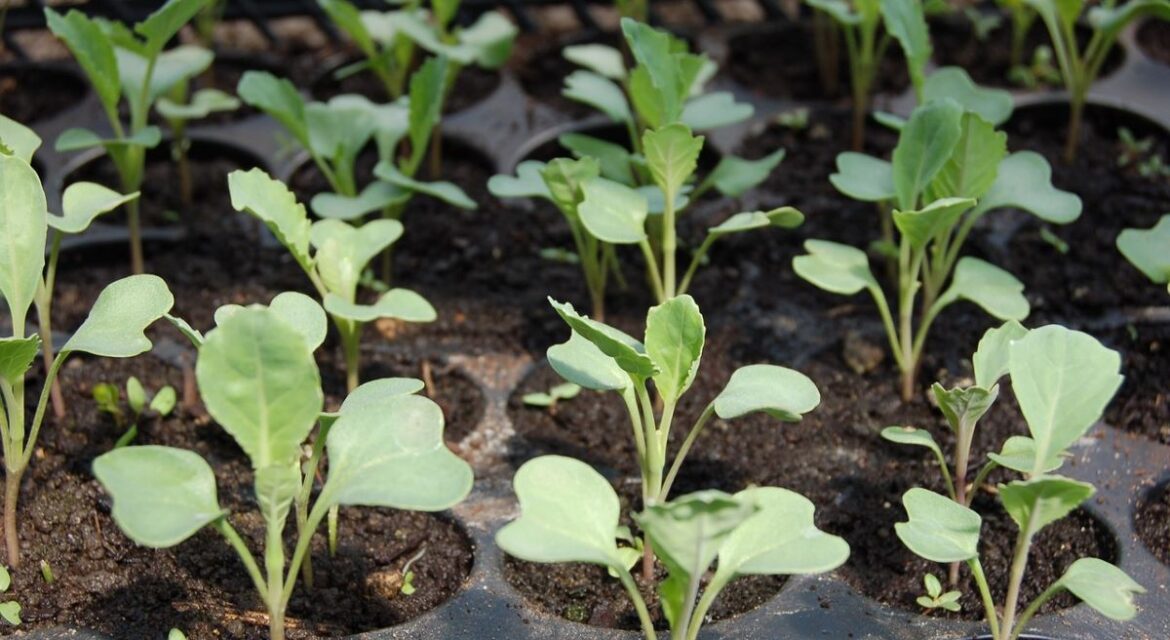
2. Transplanting Seedlings
If you’re transplanting seedlings, handle them gently to avoid damaging the roots. Plant them at the same depth they were growing in their containers.
3. Marking Rows
Use stakes or string to mark rows for your seeds. This helps maintain straight lines and ensures consistent spacing.
Step 10: Mulching and Watering
After planting, proper maintenance will set your seedlings up for success.
1. Applying Mulch
Apply a layer of organic mulch around your plants. Mulch helps retain moisture, suppress weeds, and regulate soil temperature.
2. Watering Routine
Establish a consistent watering routine. Newly sown seeds and seedlings require regular moisture to establish strong roots.
Common Mistakes to Avoid
While preparing a seed bed, be mindful of these common pitfalls:
1. Over-Compacting the Soil
Avoid walking on your prepared seed bed, as this can compact the soil and hinder root growth. Use stepping stones or paths to prevent soil compression.
2. Ignoring Soil Testing
Skipping soil tests can lead to nutrient deficiencies or imbalances. Regularly testing your soil ensures optimal growing conditions.
3. Neglecting Weed Control
Weeds can quickly outcompete your seedlings. Regularly monitor for weeds and remove them as necessary.
Conclusion
Preparing a vegetable seed bed is a crucial step that can determine the success of your gardening efforts. By selecting the right location, clearing the area, testing and amending your soil, and following the proper planting procedures, you set the stage for a thriving vegetable garden. Remember, gardening is a journey, and with patience and care, you’ll enjoy bountiful harvests season after season.